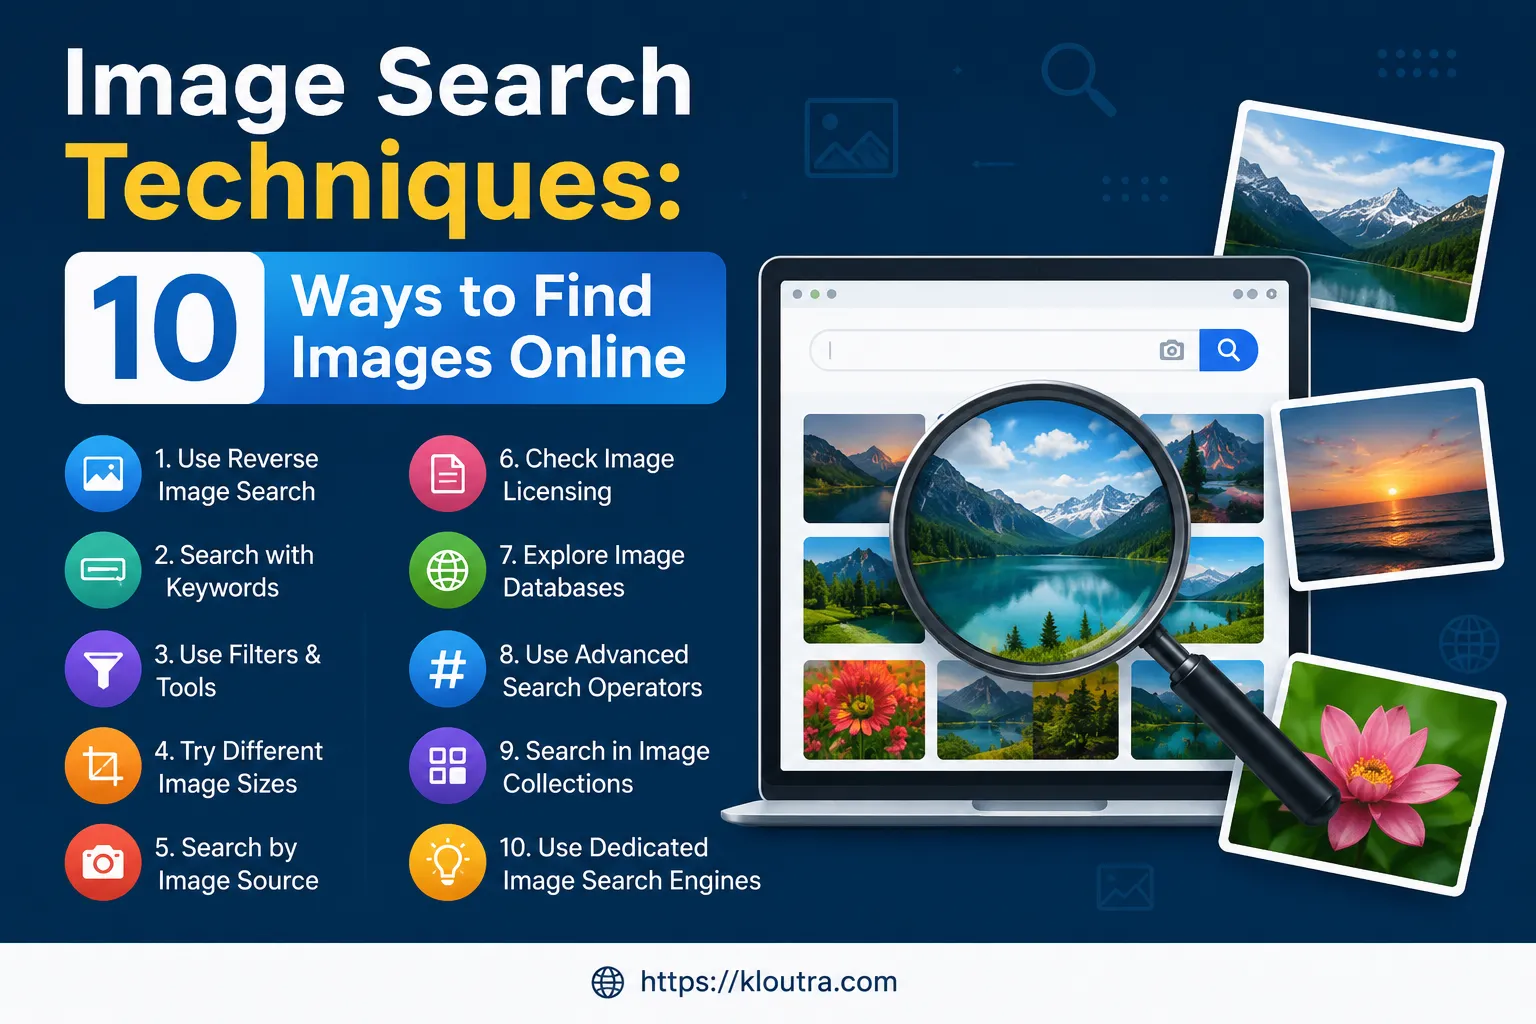
Image Search Techniques: 10 Ways to Find Images Online
Introduction
Ever spent 20 minutes hunting for the right picture, only to give up and use a blurry one instead? You are not alone. Finding good images online can feel harder than it should be. With millions of pictures uploaded every day, the right one often gets buried under thousands of wrong ones. The right image search techniques turn that frustration into a quick win.
That’s where solid image search techniques come in. Whether you need a photo for a blog post, a school project, or you just want to know where a picture came from, knowing how to search smart saves time and frustration. In this guide, you’ll learn 12 practical image search techniques, including how to use Google image search and reverse image search like a pro. We’ll also cover a few tricks most guides skip, like why cropping a photo before you search it matters. We’ll walk through the real advantages and disadvantages of each approach so you can pick the right one for your situation. No technical experience is required—just follow these simple steps.
How Does Image Search Actually Work?
Before jumping into the techniques, it helps to understand what happens behind the scenes. It makes the tips below click faster.
Search engines don’t just “look” at a picture the way we do. They break it down into shapes, colors, edges, and patterns. That data becomes a kind of numerical fingerprint, often called an image embedding.
From Fingerprint to Match
When you search, the engine compares your image’s fingerprint against billions of others already stored. The closer two fingerprints are, the more visually alike the images are considered. This is also why reverse image search can still find a photo even after it’s been cropped, resized, or lightly edited, since the underlying pattern usually stays similar enough to match.
Search engines also read text clues around an image, like file names, captions, and alt text, to double-check the context. Google explains its own version of this process in its official search-by-image documentation, which is worth a skim if you want the details straight from the source.
1. Start With Google Image Search
Google image search is the first stop for most people, and for good reason. It indexes billions of images from across the web in seconds. To use it, go to images.google.com or click “Images” on a regular Google search, then type your keyword and hit enter.
Use specific keywords. Vague searches give vague results. Instead of typing “dog,” try “golden retriever puppy running on grass.” The more specific your words, the closer you get to what you actually want. Think of it like ordering food: “pizza” is fine, but “pepperoni pizza with thin crust” gets you exactly what you’re craving.
Filter by size, color, and type. Google lets you narrow results after your first search. Click “Tools” under the search bar to filter by image size, color, type (photo, clip art, line drawing), and usage rights. This is especially useful when you need a transparent PNG or a specific color scheme for a design project.
2. Master Reverse Image Search
Reverse image search flips the usual process. Instead of typing words, you upload a picture, and the search engine finds where else it appears online. This is one of the most useful image search techniques for checking image sources, finding higher-resolution versions, or spotting fake photos.
How to do a reverse image search on Google. Go to images.google.com, click the camera icon, and either upload a photo or paste an image URL. Google then shows you matching or similar images from across the web. On mobile, you can often long-press an image in Chrome and select “Search image with Google Lens” for the same result. On desktop, right-clicking an image in Chrome or Edge and choosing “Search image with Google” works too.
Crop the image first (the often-missed trick). If a photo has more than one thing in it, the search engine might match on the wrong object. Say you have a photo of a person wearing a jacket, but you only care about the jacket. Cropping the photo down to just the jacket before you search usually gives far better results. This one small step fixes most “I searched but got nothing useful” problems.
Check the image size. Reverse image search struggles with very small images, generally anything under roughly 200 pixels wide, because the engine simply doesn’t have enough visual detail to work with. If your search comes back empty, try to find a slightly bigger version of the same photo before trying again.
When Reverse Image Search Comes in Handy
Reverse image search helps in real situations. Journalists use it to verify if a photo is old or from a different event before trusting it as breaking news. Online shoppers use it to find where a product in a photo is sold. It’s also a quick way to catch someone using your photos without permission, or to check if a dating-app profile picture actually belongs to that person.
3. Use TinEye to Trace an Image’s Original Source
Google is great for general reverse searches, but TinEye is built specifically for one job: finding where an image first appeared online. Go to tineye.com, upload your image or paste its URL, and hit search. What makes TinEye stand out is its sorting options.
Sort by oldest to find the real source. After your search, TinEye lets you sort results by “oldest.” This shows you the earliest version of the image that TinEye has indexed, and it’s usually the closest thing to the original source. This one setting makes TinEye the go-to tool for photographers checking if their work was stolen, or for anyone trying to confirm whether a viral photo is actually new.
4. Try Yandex Images for Harder Searches
Yandex, a Russian search engine, has a reverse image search tool known for two things: strong face-matching, and finding sources on websites that Google and Bing don’t index well. Go to yandex.com/images, click the camera icon, and upload your photo. If Google or TinEye come back empty, Yandex is often worth a try.
A quick note on privacy: face-matching tools raise real legal concerns in places with strict privacy laws, such as the EU’s GDPR, so it’s worth being thoughtful about using face search on photos of strangers.
5. Use Stock Photo Websites for Legal, Ready-to-Use Images
If you need images for a website, presentation, or blog, stock photo sites are often a safer bet than random Google results. Many general Google images come with copyright restrictions you cannot legally use. Sites like Unsplash, Pexels, and Pixabay offer free, high-quality photos you can use without worrying about copyright claims, though it’s always smart to check each site’s specific license terms. For paid, professional-grade images, sites like Shutterstock and Adobe Stock offer larger libraries with more variety.
6. Bing Visual Search: Best for Shopping
Bing Visual Search works a bit like Google’s reverse image search, but it leans heavily toward shopping and product results. If you’re trying to find where to buy something you saw in a photo, Bing is often faster than Google for this. Go to bing.com/visualsearch, upload an image or paste a URL, and Bing will return matching images along with shopping links where available. In Microsoft Edge, you can also right-click any image and choose “Visual search.”
7. Apply Advanced Search Operators
Most people never touch Google’s advanced search operators, but they make searches far more precise. These are small commands you type directly into the search bar.
Useful operators to know. Typing site:wikipedia.org butterfly only shows images from Wikipedia. Adding filetype:png limits results to PNG files only. Using quotation marks around a phrase, like "red sports car", tells Google to look for that exact phrase instead of the words separately. These small tricks turn a messy search into a focused one.
Combine operators for better results. You can stack these operators together. For example, site:.gov filetype:jpg election would only show JPG images from government websites related to elections. This method works well for students and professionals who need images from trustworthy, specific sources rather than random results.
8. Use Social Media Platforms for Visual Search
Social platforms have become surprisingly strong image search tools. Pinterest, in particular, is built entirely around visual discovery. Its search bar lets you search by keyword, and its “visual search” tool (the small camera icon inside a pin) lets you click on a part of an image to find similar items. This works well for fashion, home decor, and design inspiration. Instagram and X (formerly Twitter) also let you search hashtags related to a topic, which can uncover recent, real-world photos that stock sites won’t have.
9. Try AI-Powered Image Search Tools
AI has changed how image search techniques work. Tools like Google Lens go beyond matching images and can identify objects, plants, landmarks, and even solve math problems from a photo. Simply open the Google app, tap the Lens icon, and point your camera (or upload a photo) to search visually instead of typing.
You can also add a short text hint alongside your photo, like adding the word “vintage” to a picture of a chair, to narrow the results further. Bing’s image search also uses AI to suggest related searches and identify objects within a picture, which can be faster than describing what you’re looking for in words.
10. Check an Image’s Hidden Metadata
Before you even run a search, it’s worth checking an image’s EXIF data. This is hidden information saved inside many photo files, and it can include the camera used, the date taken, and sometimes GPS location. Free tools like Jeffrey’s Image Metadata Viewer let you upload a photo and see this data instantly. Sometimes the metadata answers your question faster than any reverse search would. Keep in mind that images shared on social media are often stripped of this data automatically, so this trick works best on original, unedited files.
11. Search Within Specific Websites or Apps
Sometimes the image you need lives inside a specific platform, not the open web. Museums, libraries, and news archives often have their own internal search tools. For example, the New York Public Library’s digital collection and the Library of Congress both offer searchable, high-quality historical images. These sources are especially useful for students working on research projects who need reliable, well-documented images. News websites also let you search their own photo archives, which can be more accurate than a general web search for finding a specific event or moment.
12. Usage Rights Filters: A Simple but Important Technique
Not every image online is free to use, and copyright matters, especially if you’re publishing content commercially or for a business. Google image search has a “Usage Rights” filter under the Tools menu, where you can select options like “Creative Commons licenses” to find images that are legally safe to reuse, with proper credit when required. Ignoring this step can lead to copyright strikes or legal trouble later, so it’s worth the extra ten seconds to check.
Advantages and Disadvantages of the Main Image Search Techniques
No single tool wins at everything, so here’s an honest breakdown of where each approach helps and where it falls short.
Google Image Search
- Advantages: the largest index on the web, fast results, built-in filters for size, color, and usage rights.
- Disadvantages: heavily commercial results can bury smaller or older sources, and exact-match accuracy drops on cropped or heavily edited photos.
Reverse Image Search (Google, TinEye, Yandex Combined)
- Advantages: verifies a photo’s origin, catches stolen or reused images, useful for checking dating profiles or product photos.
- Disadvantages: struggles with very small images, results can be incomplete on any single engine, and face-matching tools raise privacy questions in regions with strict data laws.
TinEye
- Advantages: purpose-built for finding the oldest, original version of an image, with no ads competing for attention.
- Disadvantages: a smaller overall index than Google, so it sometimes returns nothing on newer or less-shared photos.
Yandex Images
- Advantages: strong face-matching and better coverage of sites Google under-indexes.
- Disadvantages: interface is less familiar to English-speaking users, and the same face-matching strength raises the privacy concerns mentioned above.
Stock Photo Sites
- Advantages: legally safe to use, consistently high quality, no copyright guesswork.
- Disadvantages: limited to existing library content, so very specific or unusual requests may come up empty.
Advanced Search Operators
- Advantages: highly precise, filters out noise fast, no extra tools needed.
- Disadvantages: requires memorizing syntax, and one typo in an operator can return zero results with no obvious explanation.
Common Mistakes That Ruin Image Searches
Even with good tools, a few habits quietly wreck your results, so here’s what to watch for.
- Searching with only one engine. No single search engine indexes the entire internet. If Google comes up empty, try TinEye or Yandex before giving up.
- Using vague keywords. “Shoes” will drown you in results, while “white leather sneakers with red laces” won’t.
- Searching a whole photo when only part of it matters. As covered above, cropping to the actual subject usually fixes weak results.
- Skipping the usage rights filter. Assuming an image is free just because it showed up in search results is one of the most common and costly mistakes people make.
- Trusting every “similar” match as identical. Google often shows visually similar images, not exact ones, so always double-check before treating a result as confirmed.
A Quick Look at Image SEO (If You’re Publishing Images Too)
If you run a website or blog, it’s worth knowing how these same search engines decide which of your images to show. A few small habits make a real difference.
- Name your image files with real words instead of default camera names, since “red-leather-handbag.jpg” tells search engines far more than “IMG4821.jpg.”
- Always add alt text describing what’s actually in the picture. This helps both search engines and people using screen readers understand your images.
- Compress your images so pages load quickly, since slow-loading pages tend to rank lower.
- Place images near the text that describes them, since search engines use surrounding content as a context clue.
If you want a deeper technical walkthrough on getting content indexed and ranked properly, our complete guide to on-page optimization on Kloutra covers the fundamentals step by step.
Frequently Asked Questions
What is the best way to search for images online? The best way depends on your goal. For general searches, Google image search with specific keywords works well. Reverse image search is better for finding the source of a photo you already have.
How does reverse image search work? Reverse image search lets you upload a photo or paste its URL instead of typing keywords. The search engine converts the image into a visual fingerprint and compares it against billions of others to find matches or similar images.
Can I use any image I find through Google image search? No, not all images are free to use. Many are copyrighted, so it’s important to check the “Usage Rights” filter or use stock photo sites with clear licenses.
Is Google Lens the same as reverse image search? Google Lens is similar but goes further. Along with finding matching images, it can identify objects, text, plants, and landmarks directly from your camera or photos.
How do I check if I’m being catfished using reverse image search? Upload the person’s profile photo to Google Images or TinEye and see where else it appears. If the same photo shows up under a different name, or belongs to a stock photo site or influencer, that’s a red flag worth taking seriously.
Conclusion
Finding the right picture online doesn’t have to be a guessing game. With the right image search techniques, you can go from frustrated scrolling to finding exactly what you need in minutes. To recap: use specific keywords, try reverse image search across a few different engines, crop your images before uploading them, and don’t forget usage rights filters.
Each of these image search techniques covers a different need, from casual browsing to professional research. Understanding the advantages and disadvantages of each one helps you pick the right tool instead of settling for the first result. Next time you’re stuck looking for a photo, pick one of these image search techniques and give it a try, and you might be surprised how much faster and easier your search becomes.
For more hands-on guides like this one, browse the rest of the how-to library on Kloutra.
Disclaimer: This article is intended for general informational purposes only and does not constitute legal advice, particularly regarding copyright and image usage rights. Search engines, tools, and their features (including Google, TinEye, Yandex, and Bing) update frequently, so exact steps, menus, or interface elements may change after publication. Always check a platform’s current terms of use and licensing rules before reusing an image commercially, and consult a qualified professional for specific legal or copyright questions.